Create the Sample Vision App in Planning

Disclaimer
Click the images in the article below to toggle between thumbnail and full-size. Enlarge all | Reduce all
Introduction
This article shows how to create the database repository, data source, and Planning application needed for the sample Vision application that ships with Oracle Hyperion Planning.
Beginning with Planning release 11.1.2.3.500 there is a new sample application called Vision that is part of the standard installation. This application has many more features than the previous sample application, which makes it a useful sandbox in which to learn about Hyperion Planning. However, the app is not available straight out of the box; there are some tasks you have to complete before you can use it. This article walks you step by step through the process of setting up the Vision application.
Create the Repository
Each Planning app has its own relational repository and creating the repository is the starting point for creating the sample Vision app. The steps you take to create the repository depend on which RDBMS you are using. Here are links for Oracle DB and for SQL Server:
Create a Planning Repository with Oracle DB
Create a Planning Repository with SQL Server
Create the Data Source
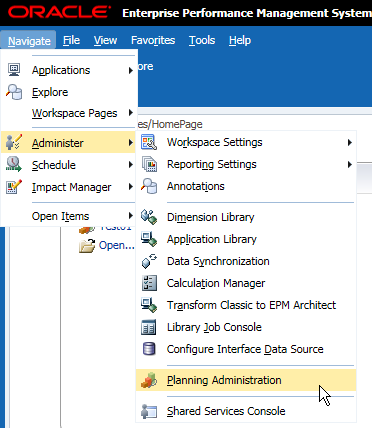
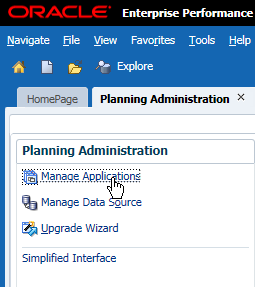
In the EPM Workspace menu, select Navigate | Administer | Planning Administration.
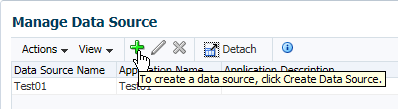
In the left pane, select “Manage Data Source”, and then click the plus sign in the right pane to create a data source.
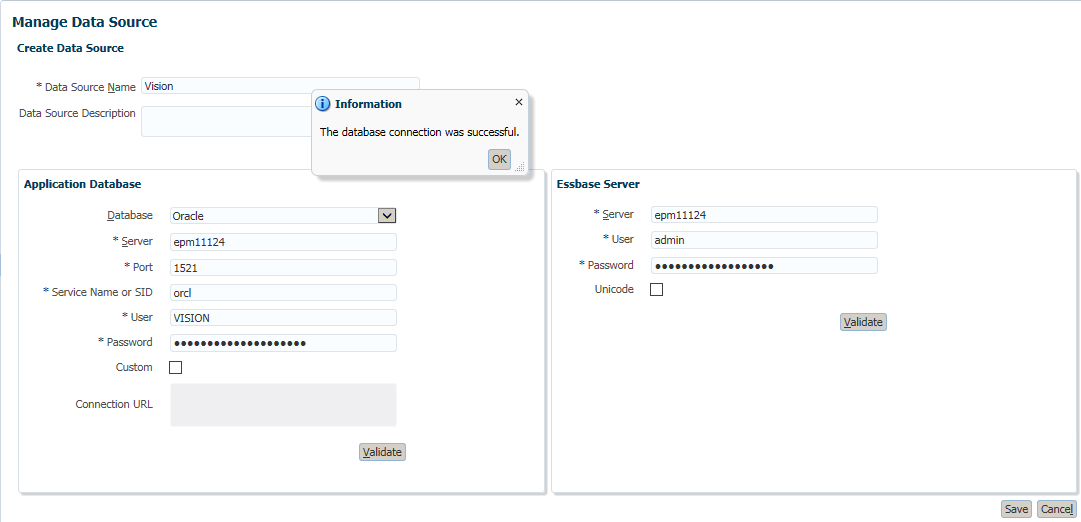
Enter the required data and click the Validate buttons to confirm that your entries are OK. In the screenshots I show what this looks like, first if you are using an Oracle DB as the repository and second if you are using SQL Server.
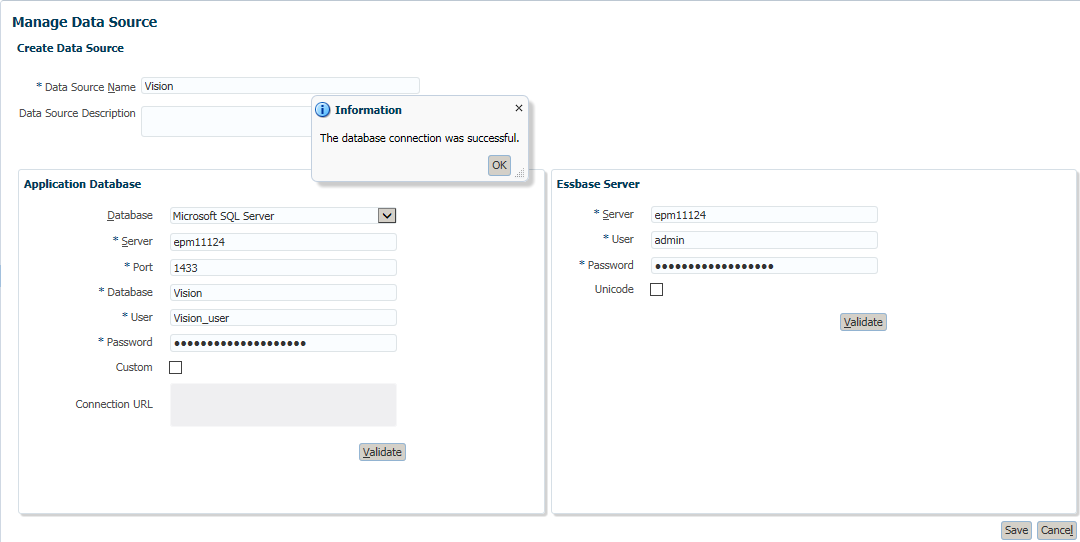
This is the same Validation screen using SQL Server for the repository database.
Click Save on the appropriate validation screen above to save the data source.
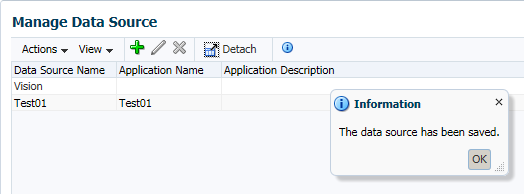
Note in the screenshot below that the Application Name is blank for the Vision data source that we just created. The next step will be to use the data source to create a new Planning application, at which point the Application Name will be shown on this screen. Click OK to complete the process of creating a data source.
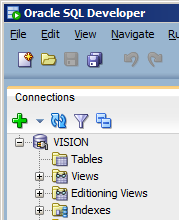
Open SQL Developer and connect to the repository. Expand the Vision tablespace as shown below.
The screenshot shows that there are not yet any tables in the repository. As we'll see, the repository tables are added when the Planning application is created.
Create the Application
Now, click Manage Applications in the left pane.
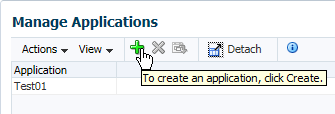
Click the plus sign in the right pane to create an application.
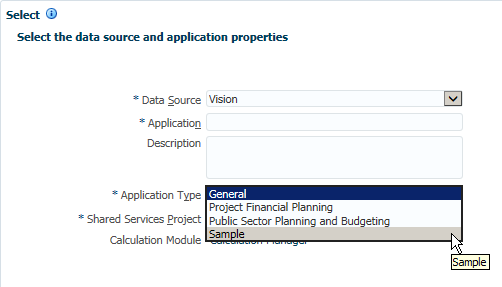
This takes you to the first screen of the Create Application wizard. The Data Source dropdown lists all of the unused data sources on your system. In my case, there is only one: the Vision data source created in the previous steps. Choose the data source you want to use for your sample application. If you were not creating the sample application, your next step would be to provide values for the rest of the required fields. But since you are creating the sample Vision application, all you need to do is select Sample from the Application Type dropdown.
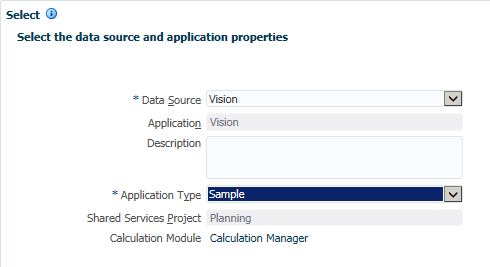
After selecting Sample, the remaining required fields for Application and Shared Services Project are auto-populated. Note that the name of the application is set to Vision – you can’t name the sample app yourself.
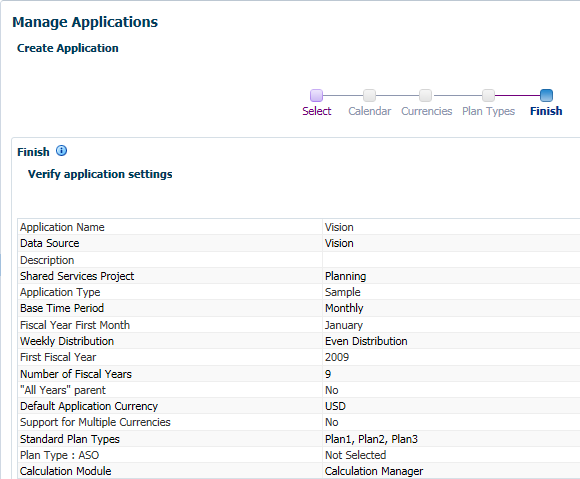
Click Next. If you were not creating the sample app, you would have some choices to make on the three wizard screens called “Calendar”, “Currencies”, and “Plan Types”. But for the sample app, these choices are made for you and the wizard jumps to the last screen, “Finish”.

Note that the Vision app has 9 years starting with 2009, 3 plan types, and no ASO plan type. These are options that Oracle has baked into the Vision app and there is no way to change them. Click Create and the status pop-up appears.
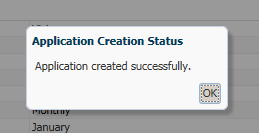
After a few minutes, if all goes well, you will see that the application has been created successfully.
Confirm Application Creation
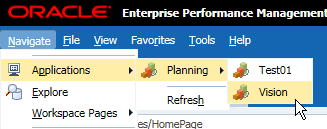
You can confirm the creation of the app by looking at it in Workspace, in EAS, and in SQL Developer. Here we see it in the Workspace:
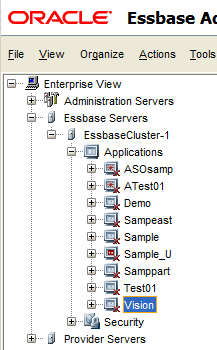
Here we see it in EAS:
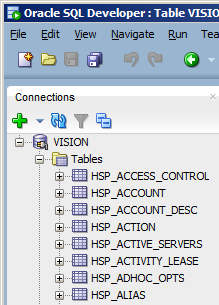
And in SQL Developer we now see that the repository has been populated with the tables Hyperion uses for a Planning application.
Final Remarks
Now that you have created the sample Vision app, you should take some time to explore it and get to know the features that it demonstrates.
Here is a link to an Oracle video that has some good information about the Vision app. Although the video is described as a PBCS video, the information is valid for an on-premise version of the Vision app as well. PBCS and the Vision Sample App
If you have any questions about this article or would like to discuss a consulting engagement, please email me at my G-mail account, which has a userid of "tcockerline".
-Tom Cockerline, February 2017